Transforming a plain wooden toy box into a vibrant centerpiece for your child’s playroom is an exciting journey that sparks creativity and joy! With just a splash of color and a sprinkle of imagination, you can turn a simple storage solution into a beloved treasure chest.
Whether you want to add a personal touch or create a whimsical theme, decorating a wooden toy box can express your child’s personality while encouraging their love for organization and play. Let’s dive into the fun of this DIY project!
Key Takeaways
- Start with the right design—options include basic, bench, rolling, bookshelf combos, and more.
- Opt for durable woods like pine for affordability, oak for strength, or walnut for a luxurious finish.
- Clean and sand the surface before decorating to ensure lasting results.
- Personalize your toy box with paint, stencils, decoupage, or vinyl stickers.
- Add wheels for easy movement and interior organizers for better storage.
Choosing the Right Wooden Toy Box
Selecting the perfect wooden toy box is the first step in your decorating journey. You want a box that not only looks good but also fits your needs and style. Let’s explore the different types and wood options available.
Types of Wooden Toy Boxes
You have several options when creating toy boxes or wooden toy box makeovers. Each type offers unique features and benefits:
- Basic Wooden Toy Box: A simple, open-top design, often with handles or a hinged lid for easy access. These are straightforward and functional.
- Bench Toy Box: This type doubles as seating, providing both storage and a place to sit. The lid is usually cushioned for comfort.
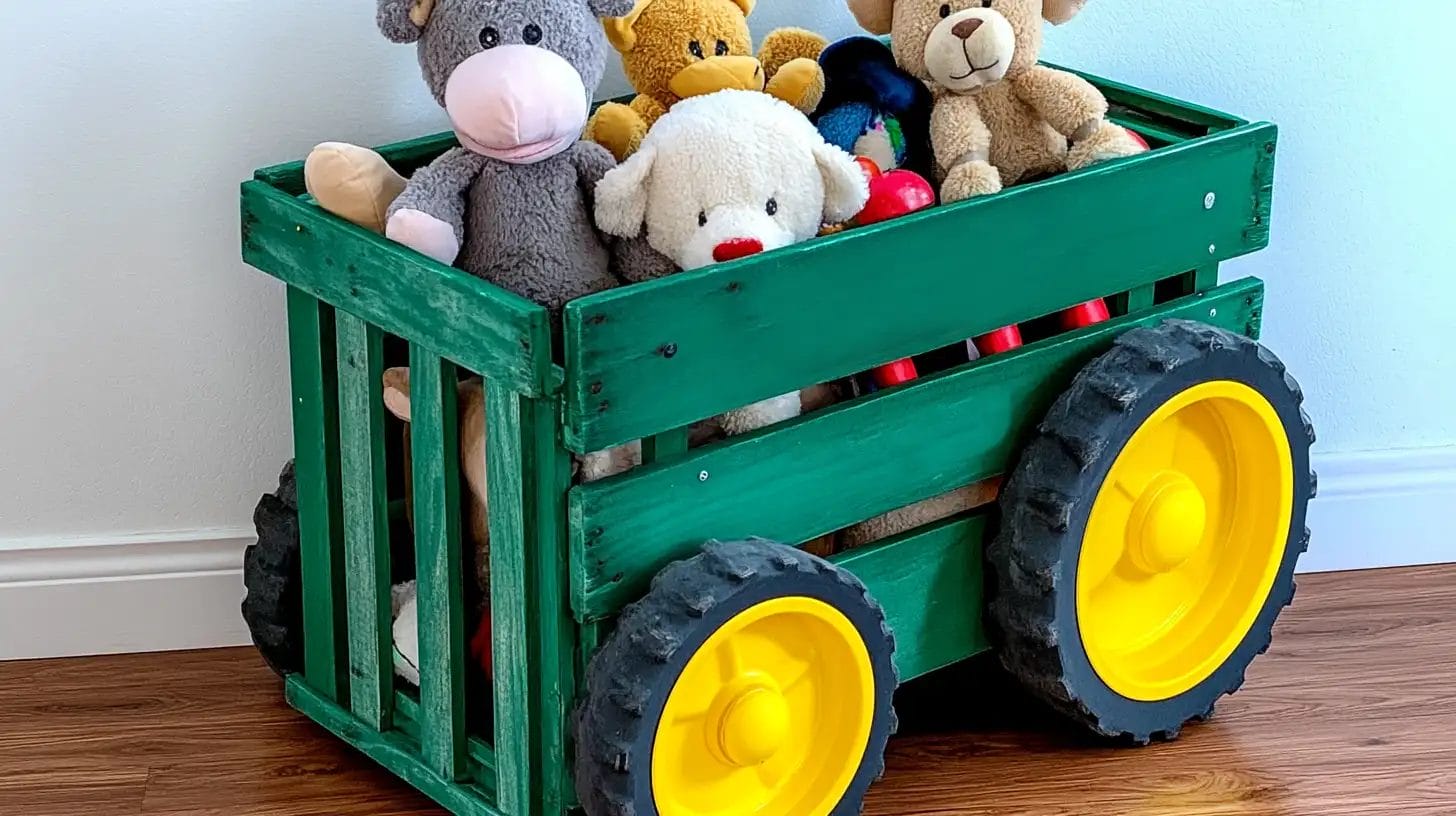
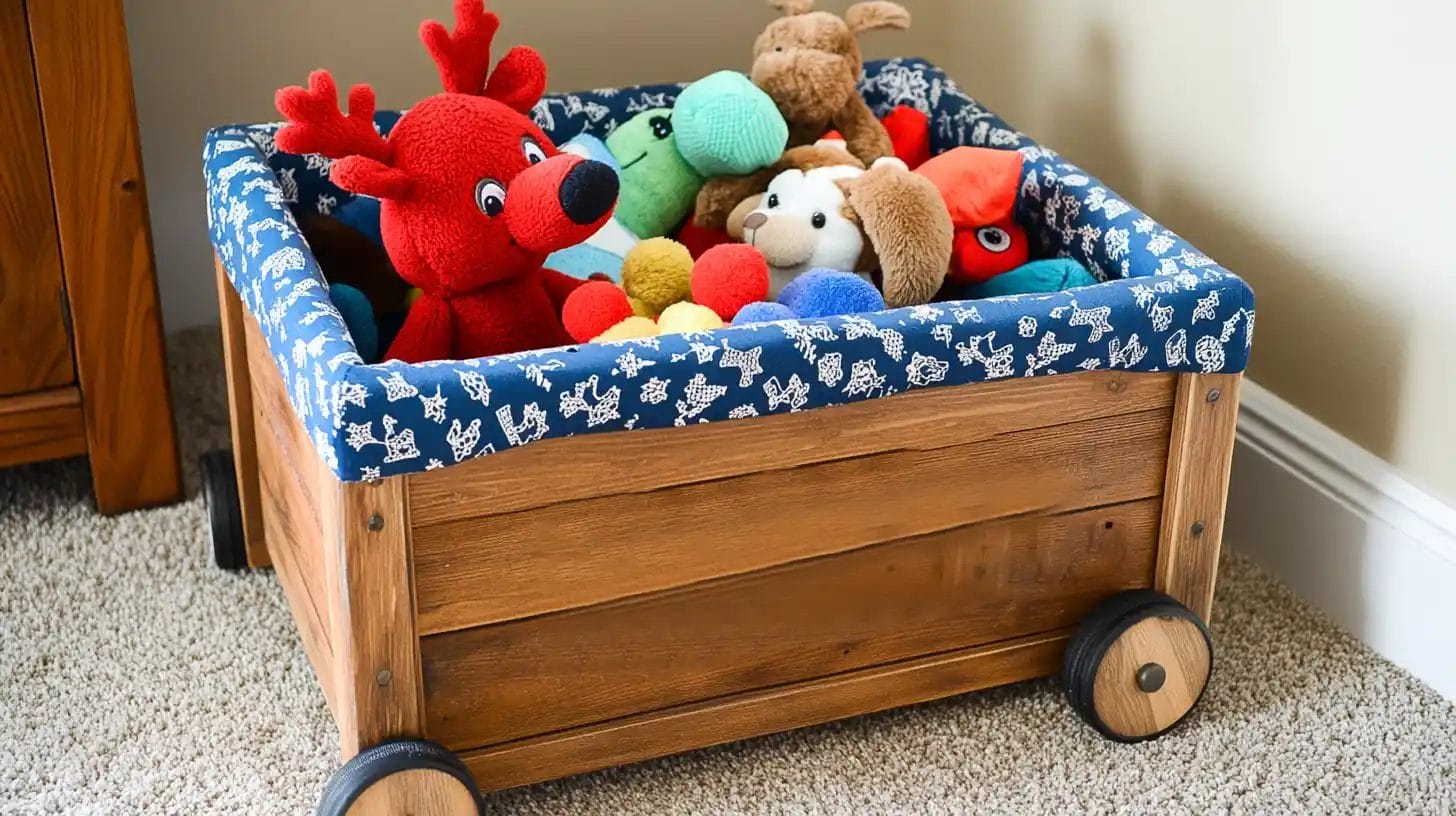
- Rolling Toy Box: These boxes are equipped with wheels and are easy to move around, which is great for transporting toys from room to room.
- Bookshelf Toy Box Combo: This combo combines toy storage with a bookshelf on top, offering a dual-purpose solution for toys and books.
- Chest Style Toy Box: Resembling a traditional chest, these boxes often feature decorative elements and sturdy construction.
- Cube Toy Box: These are modular and can be stacked or arranged in various configurations, making them versatile for different spaces.
- Lockable Toy Box: These include a locking mechanism, which can help keep certain toys secure or out of reach of younger children.
Select the Right Wood Type
The type of wood you choose affects both the look and durability of your toy box. Here are some popular options:
- Pine: This is a common choice due to its affordability and ease of painting. Its light color makes it versatile for various decor styles.
- Oak: Known for its strength and durability, oak is a heavier wood that can withstand rough use. Its beautiful grain adds character to any piece.
- Walnut: If you’re looking for something more luxurious, walnut offers a rich, dark finish. It’s perfect for creating a sophisticated look.
Think about the environment where the toy box will be placed. A lighter wood like pine might suit a bright, airy room like bedroom, while walnut could complement a more formal setting.
Preparing the Wooden Toy Box for Decoration
Before diving into decorating, preparing your wooden toy box properly is crucial. This step ensures that your creative efforts have a beautiful and lasting finish.
Clean and Sand the Surface
Start by cleaning your toy box. Dust and dirt can interfere with paint or stain application. Use a damp cloth to wipe down the entire surface. Make sure it’s dry before proceeding to the next step.
Sanding is your next task. It smooths out any rough spots and helps the paint or stain adhere better. Grab some 180-grit sandpaper and gently sand the surface. Pay attention to corners and edges, as these areas often need extra care.
Apply a Protective Finish
Once you’ve cleaned and sanded, consider applying a protective finish. A good finish protects against scratches and spills, keeping your design intact.
Choose a finish that suits your needs. If you want to preserve the natural wood look, you might opt for a clear varnish. If you plan to draw, a primer can be a great choice. It provides a smooth base and helps the paint stick better.
How to Decorate a Wooden Toy Box
Decorating your wooden toy box can be a fun and creative process. You have many options, allowing you to express your style and make the toy box unique. Let’s explore some exciting ideas to get you started.
- Paint and Stencil Designs: Paint the toy box using bright, child-friendly colors. For a personalized touch, add stencils of favorite characters or patterns.
- Chalkboard Paint: Use it to cover a section or the entire surface, allowing kids to draw and redesign whenever they like.
- Decoupage: Use decoupage glue to apply decorative paper or fabric to parts of the box for a unique, textured appearance.
- Vinyl Stickers: Use removable vinyl stickers of animals, stars, or themes that match the child’s room decor.
- Engraving: If possible, engrave the child’s name or a meaningful quote on the surface for a personalized feel.
- Fabric Upholstery: Add a padded fabric top for seating and comfort, using durable and washable materials.
- Handles and Knobs: Replace standard handles with fun, novelty knobs in shapes like stars or cars for added interest.
- Themed Decor: Match the decoration to a specific theme, such as nautical or jungle, using relevant colors and motifs.
- Glow-in-the-Dark Paint: Use it for a magical effect that appears when the lights go out.
- Washi Tape Accents: Decorate edges or create patterns with colorful washi tape for an easy and changeable design.
Making Your Toy Box More Useful
Adding helpful features can make your wooden toy box even better. Let’s look at some easy ways to make it more handy and fun.
Add Wheels for Easy Moving
Putting wheels on your toy box lets you move it easily. This makes cleaning or changing the room setup simple. Here’s how to do it:
- Pick Strong Wheels: Find wheels that can hold the toy box and toys inside. Swivel wheels are best because they turn in all directions.
- Get Your Tools Ready: You’ll need a drill, screws, and a screwdriver. Have everything ready before starting.
- Put On the Wheels: Turn the box upside down and mark where each wheel goes. Drill holes for screws, then attach wheels tightly. Make sure they’re spaced evenly so the box doesn’t wobble.
- Check It Rolls Well: After attaching, flip the box back over and test if it rolls smoothly without tipping.
Wheels make your toy box more valuable and fun! Kids will enjoy moving their toys around, making cleanup easier.
Add Extra Storage
Adding extra storage to your toy box helps keep things tidy. You can add sections or organizers inside for neatness:
- Use Dividers: Dividers can be placed in the toy box to create spaces for different toys and make them easy to find.
- Add Small Baskets: Use baskets inside for small items like action figures or blocks to avoid getting lost.
- Label Each Spot: Use labels or stickers to show what goes where, helping kids know where to put their toys back.
Adding these ideas will make your wooden toy box an excellent tool for organizing things and teaching children responsibility.
Maintenance and Care Tips for Wooden Toy Boxes
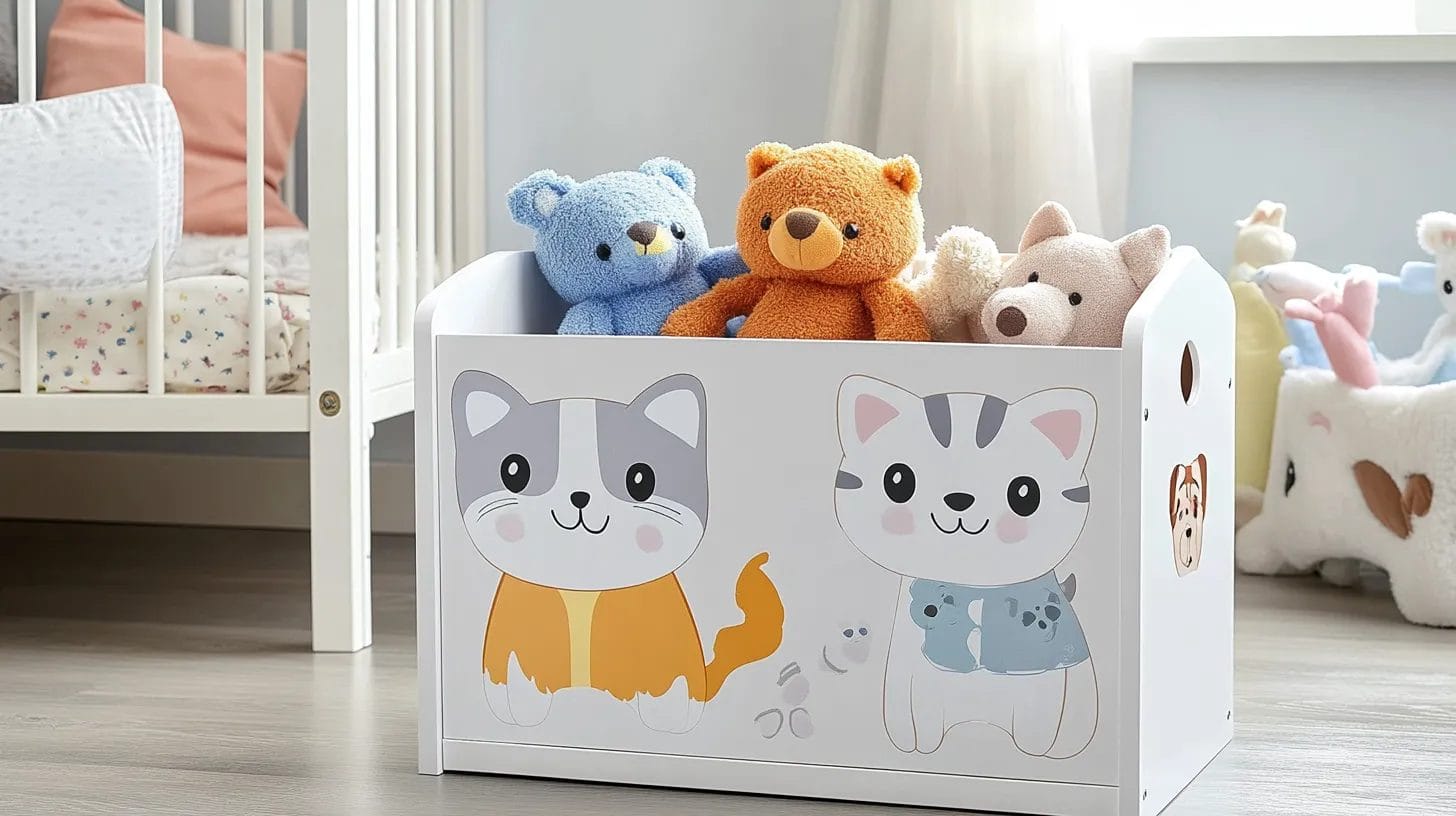
Keeping your wooden toy box looking excellent needs some care. With the proper steps, your creative work will stay beautiful for years.
- Regular Dusting: Use a soft cloth to dust often. This stops dirt from making colors dull.
- Gentle Cleaning Solutions: Use mild soap and water to clean. Avoid strong chemicals that might harm the finish. A damp cloth works well for wiping down.
- Avoid Direct Sunlight: Keep the toy box out of direct sunlight. Too much sun can fade colors and hurt the wood.
- Handle with Care: Be gentle with the box, especially if it has delicate designs like stickers or stencils. This avoids scratches or peeling.
- Touch-Up Paint: Save some of the original paint for touch-ups. If you see chips or scratches, fix them quickly to keep them looking new.
- Seasonal Checks: Check the toy box each season for damage or wear. Fix problems quickly if you find any.
Following these cleaning tips will make your wooden toy box look just like it did when you first decorated it.
Conclusion
Decorating a wooden toy box is a beautiful way to blend functionality with creativity in your child’s playroom. By choosing the right type and wood and applying imaginative designs, you can create a personalized treasure chest that reflects your child’s personality.
With various options and added features, your toy box becomes a cherished and practical piece of furniture. Display your wooden toy box and share your DIY love!


